From Template to Draft: A Complete Walkthrough
Pick a template, upload a photo, add a note, save a draft. Four steps and you have a piece of work you can return to.
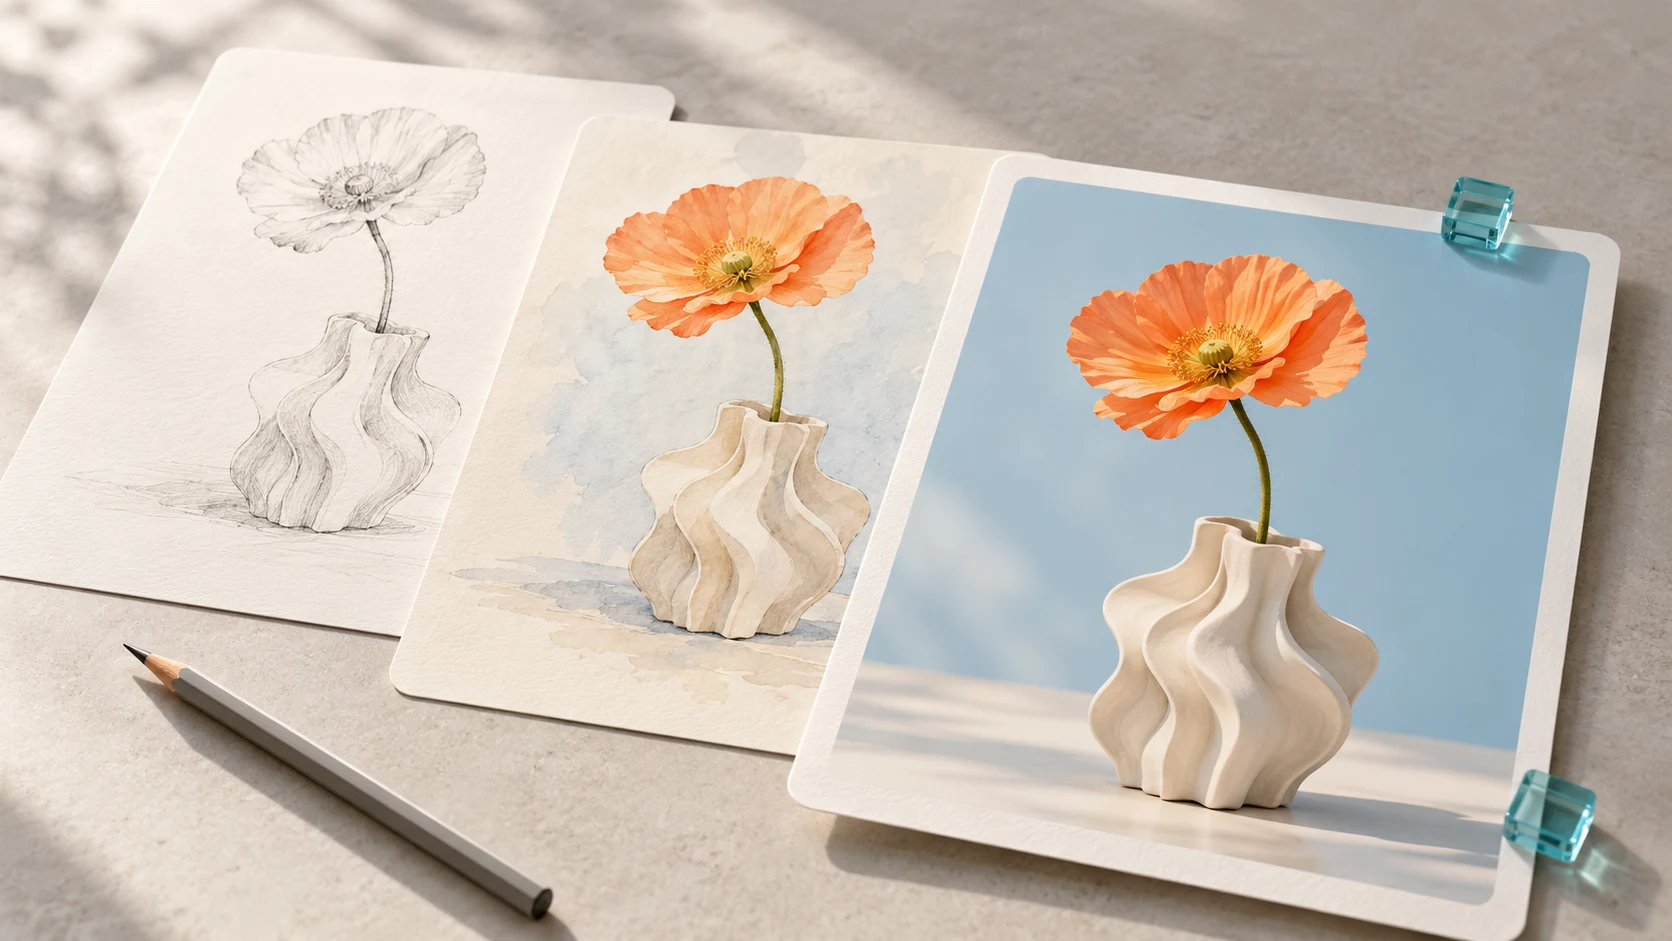
For many people, the first impression of AI creation is a blank prompt box and no idea what to type. We wanted to move the starting point forward: see a look first, then decide whether to use it.
Here is what a complete pass through TabDream looks like today.
01 Pick a playbook
Start on the homepage and look at this week's trending looks. Every template has a style reference and one sentence explaining what kind of source material it suits and what mood it produces.
You do not have to get it right the first time. Save a few and compare them later.
02 Upload a photo
JPG, PNG, and WebP are supported, up to 10 MB. The image is decoded in your browser first so we can confirm it is readable before moving on.
By default, we do not upload your photo. In this build, images and drafts stay in your browser.
03 Add a note and choose a ratio
The note is optional, but one specific sentence usually does more than ten abstract ones. "Warm sunset, slow push in" gives the model more to work with than "premium feel".
The ratio decides where the result will live: 16:9 for screens and video, 9:16 for phones, 1:1 for avatars and social cards.
04 Save the draft
When you save, the image and settings are written to IndexedDB in your browser. Close the page, refresh, or come back tomorrow — the draft is still in My works.
A draft is not a cloud library. Clearing browser data clears drafts too. That is an explicit boundary of this build.
05 Wait for generation
The generate button is already there, but this version does not connect to a model service yet. Clicking it shows a clear notice: no charge, no fake result.
When generation opens, the draft is ready to continue. The image, note, and ratio are all in place.
Want to try the flow? Open any template, upload a photo, and save your first draft.